
In this guide, we'll demonstrate how teachers can start a live class and stream it straight to their course on Ylurn. To follow along, make sure you have signed up for an institute account.
Step 1 - Create a course
Create a new course from the "Create Course" page. From the course content page, create a new module for this course.
Step 2 - Add "Live Lecture" to module
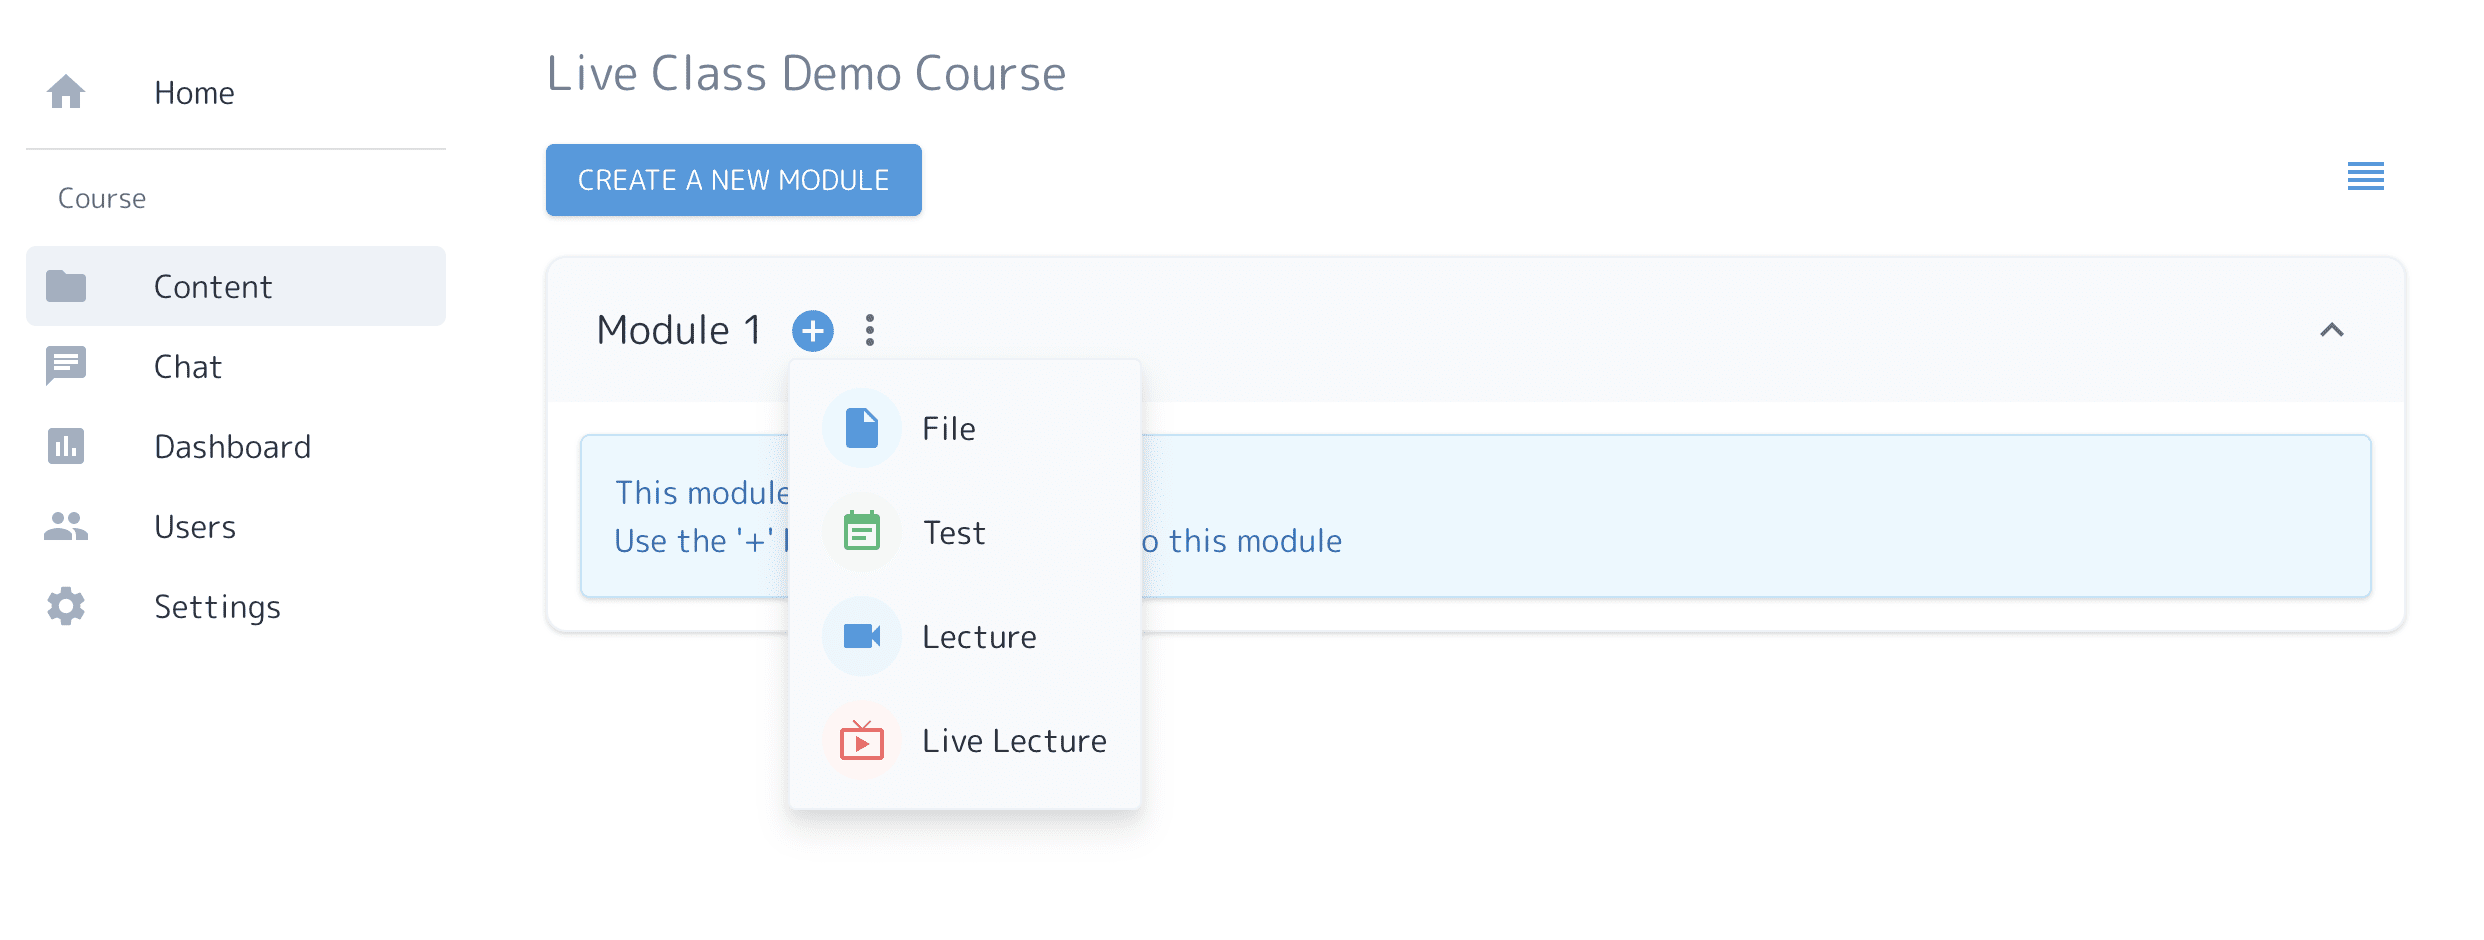
Click the "+" button on the newly created module and select "Live Lecture" from the list.
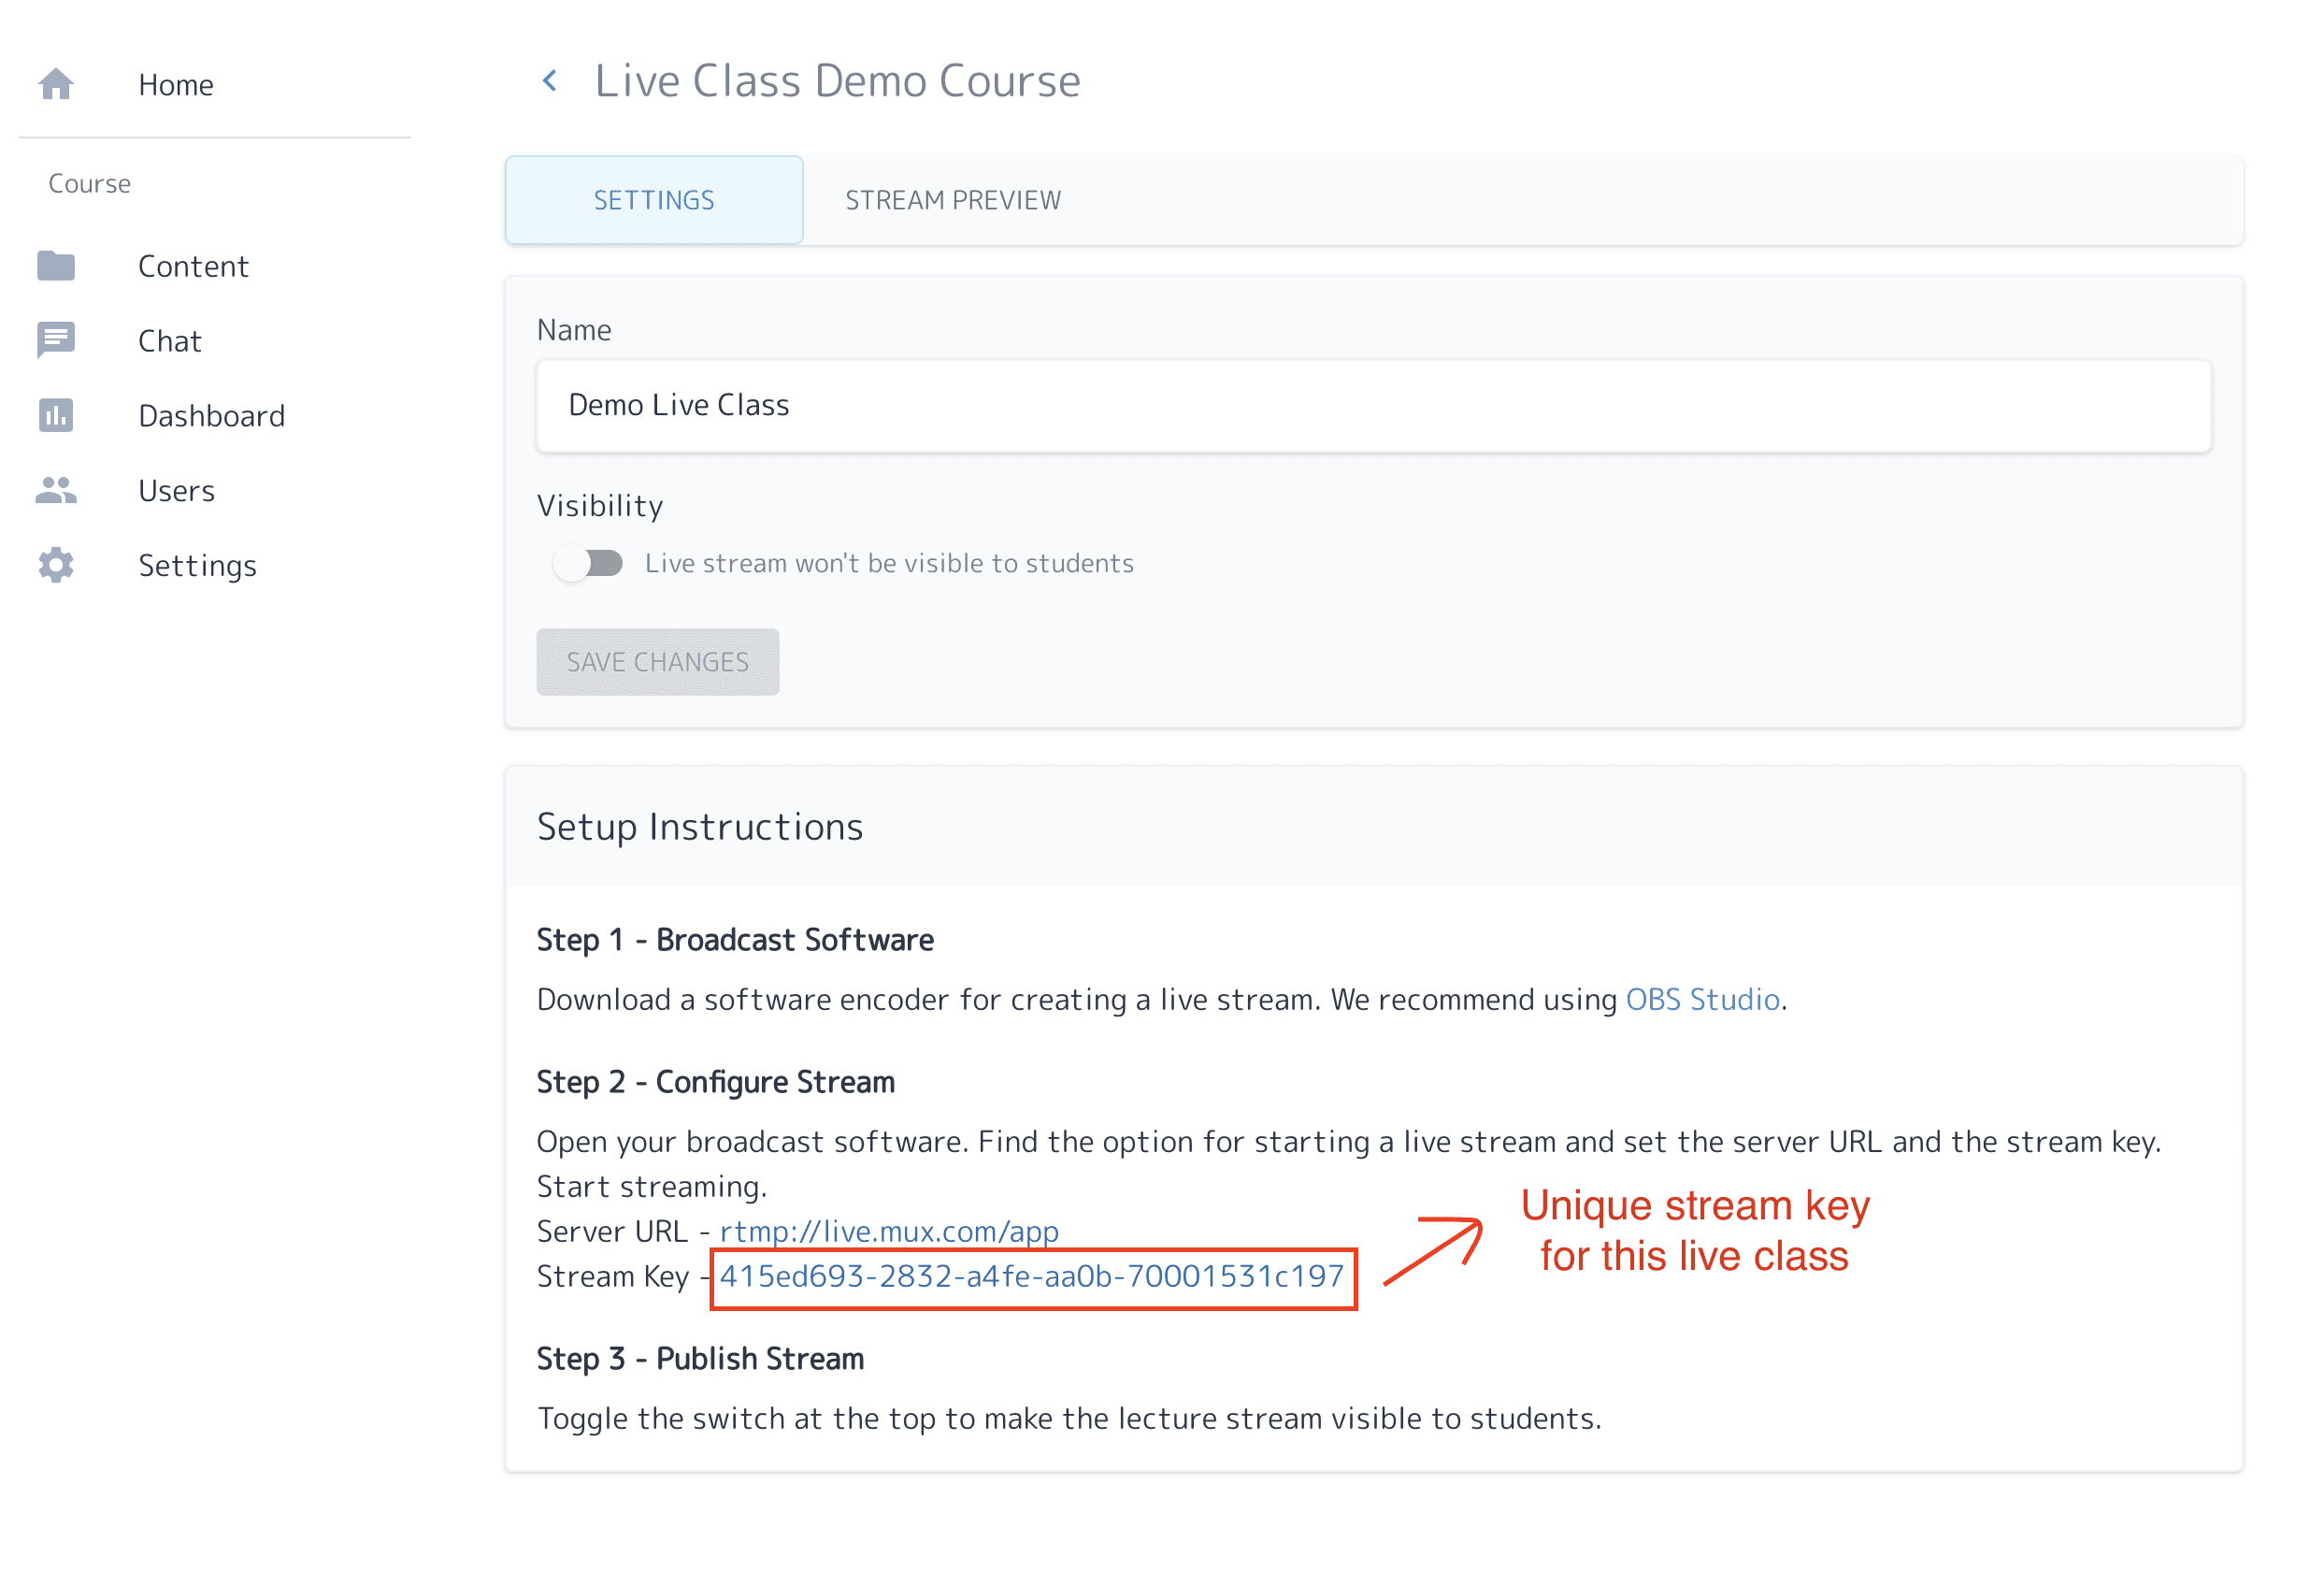
On the next screen, enter a name for your live class and click "Next". This will generate a unique stream key for the live class. You'll need this later to setup OBS.
Step 3 - Setup OBS
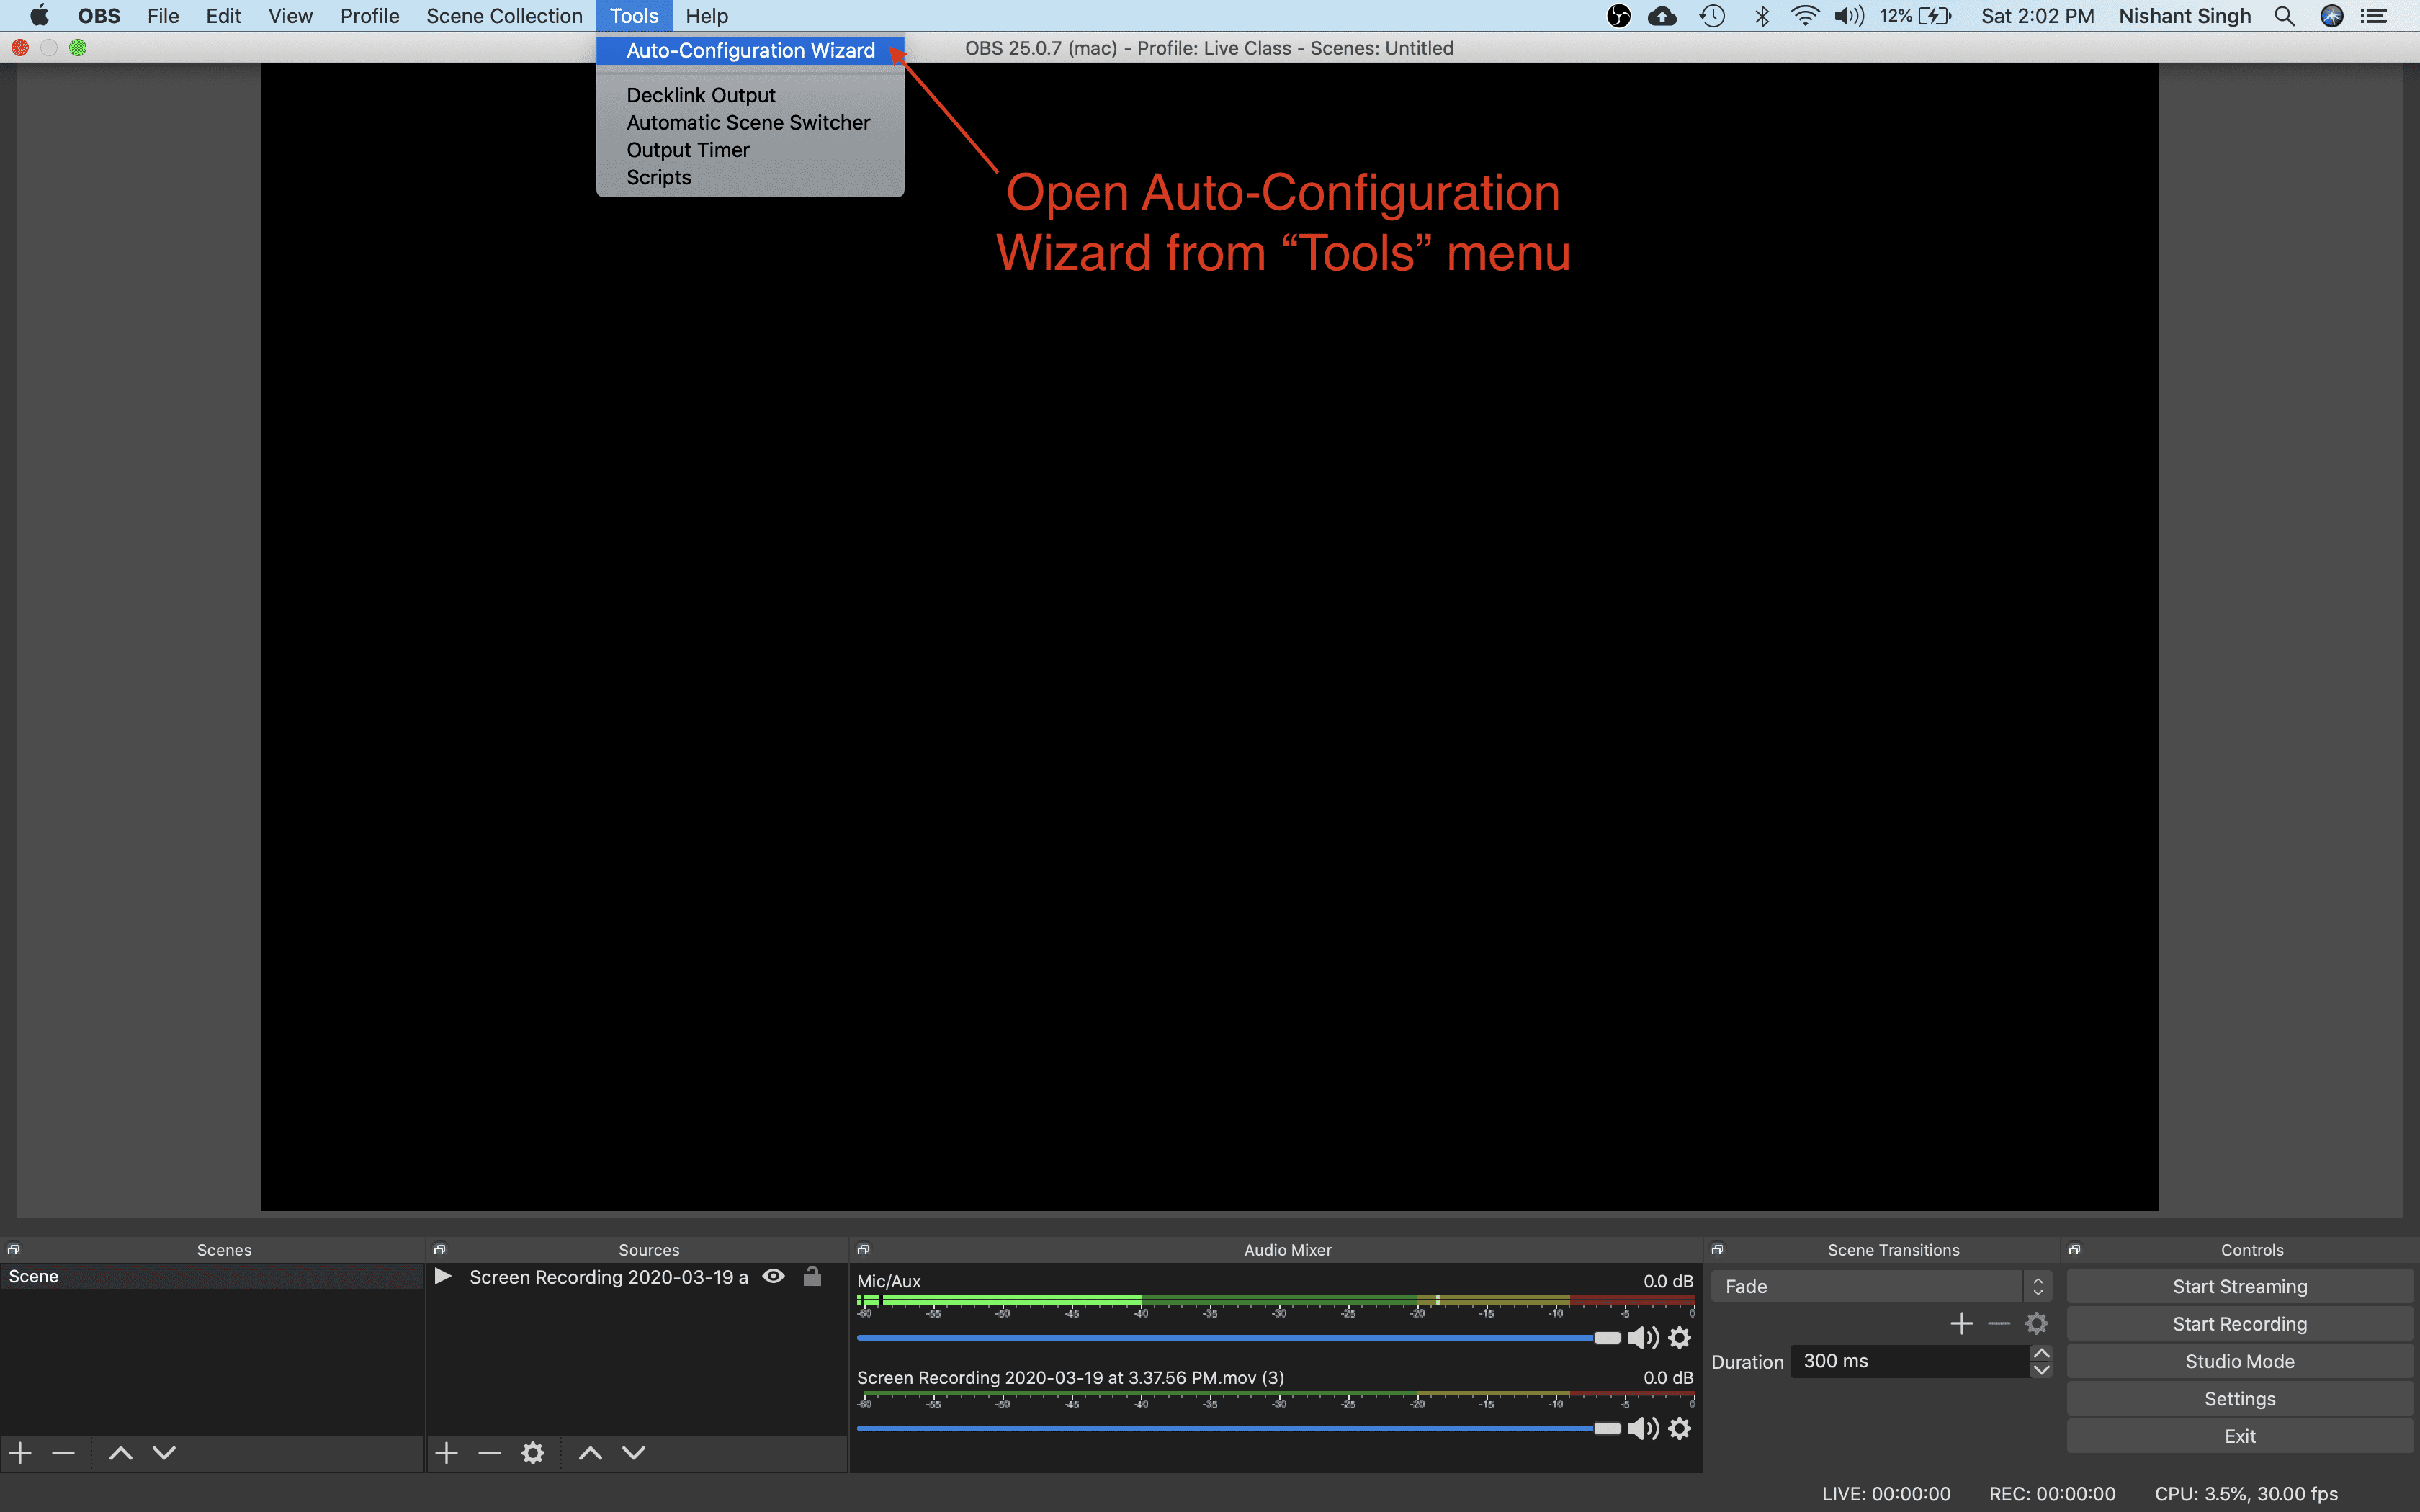
OBS is a popular live streaming software. You can download it for free from here. Once you have downloaded OBS, open the "Auto-Configuration Wizard" from the "Tools" menu in the top navigation bar. This will guide you through the settings needed to get your live stream up.
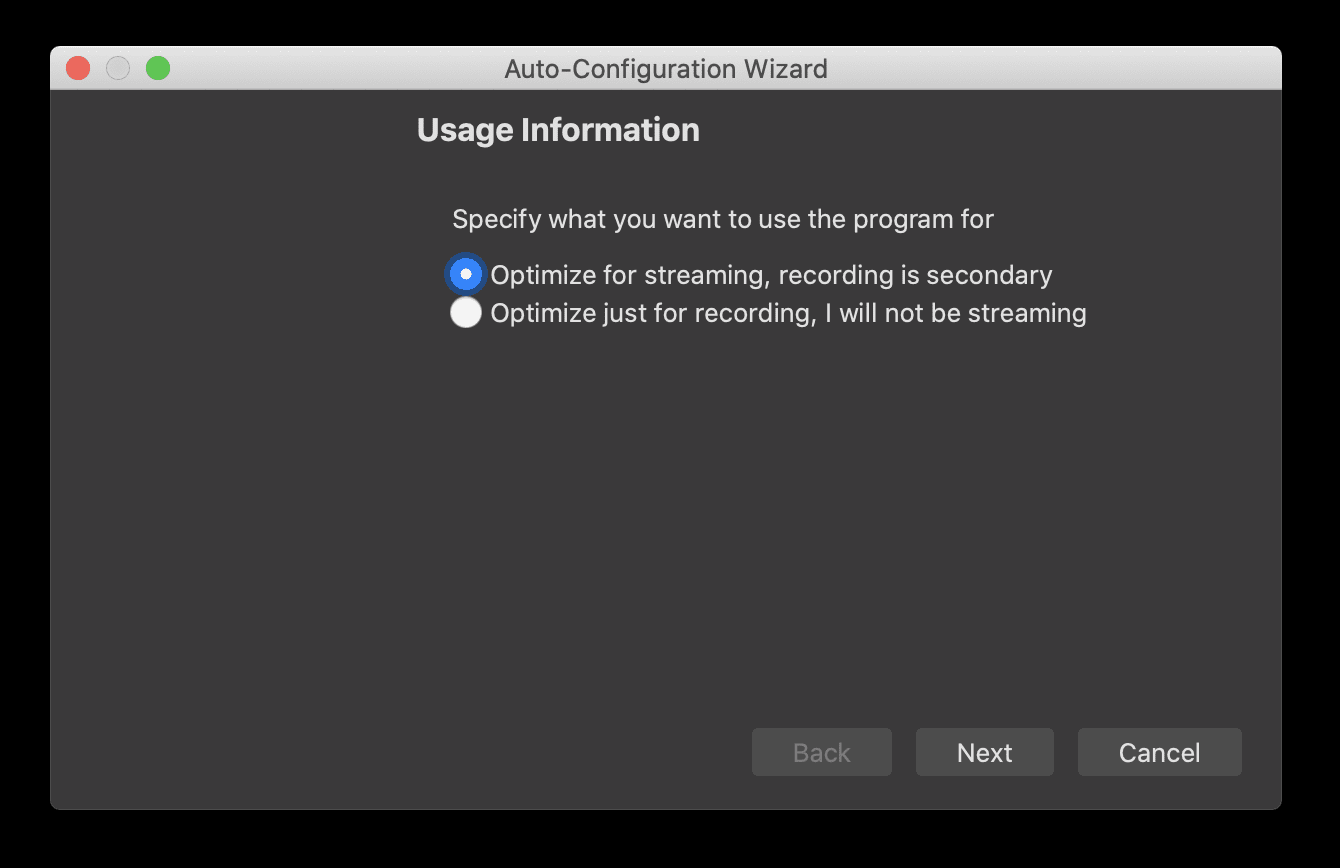
Once you have opened the Auto-Configuration wizard, on the first screen, select "Optimise for streaming, recording is secondary" option.
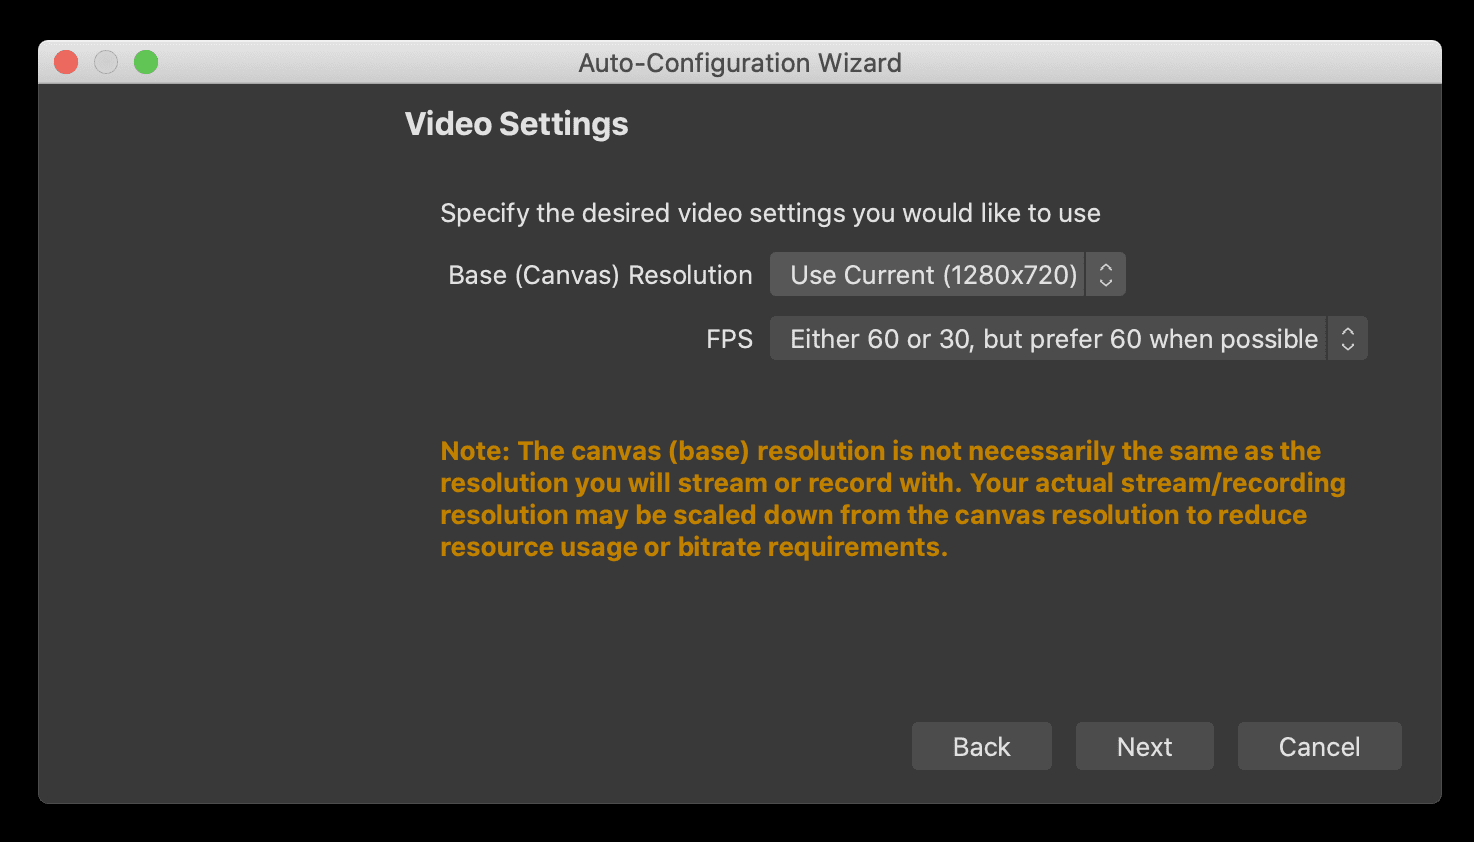
On the next screen, use the default video settings i.e don't change anything for now. You can change it later to manage live stream quality.
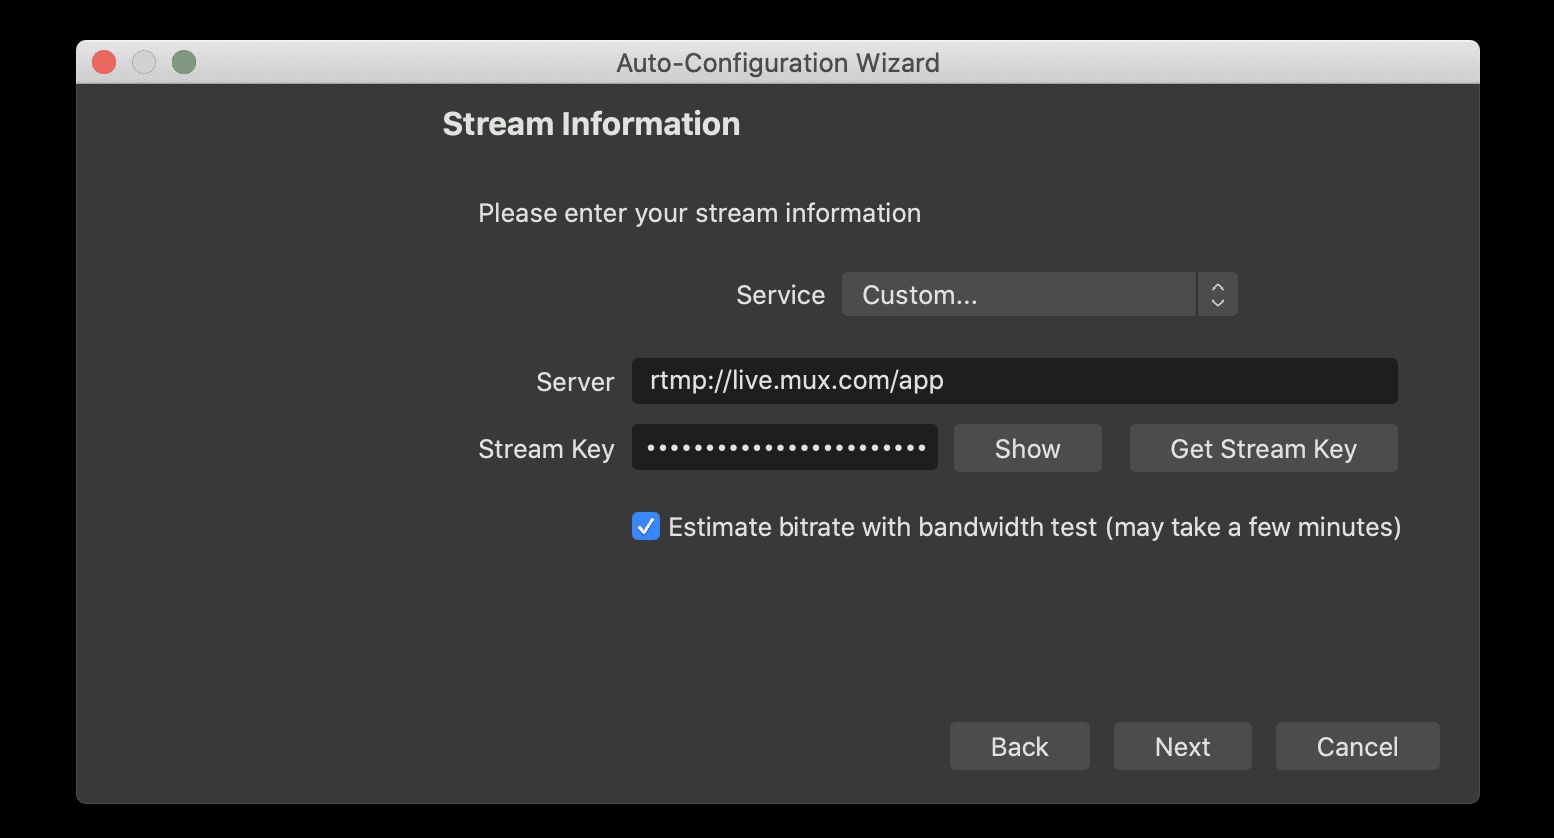
The next screen "Stream information" is the most important one. Enter the following details.
Service - Select Custom from the menu
Server - rtmp://global-live.mux.com:5222/app
Stream key - enter stream key from your course
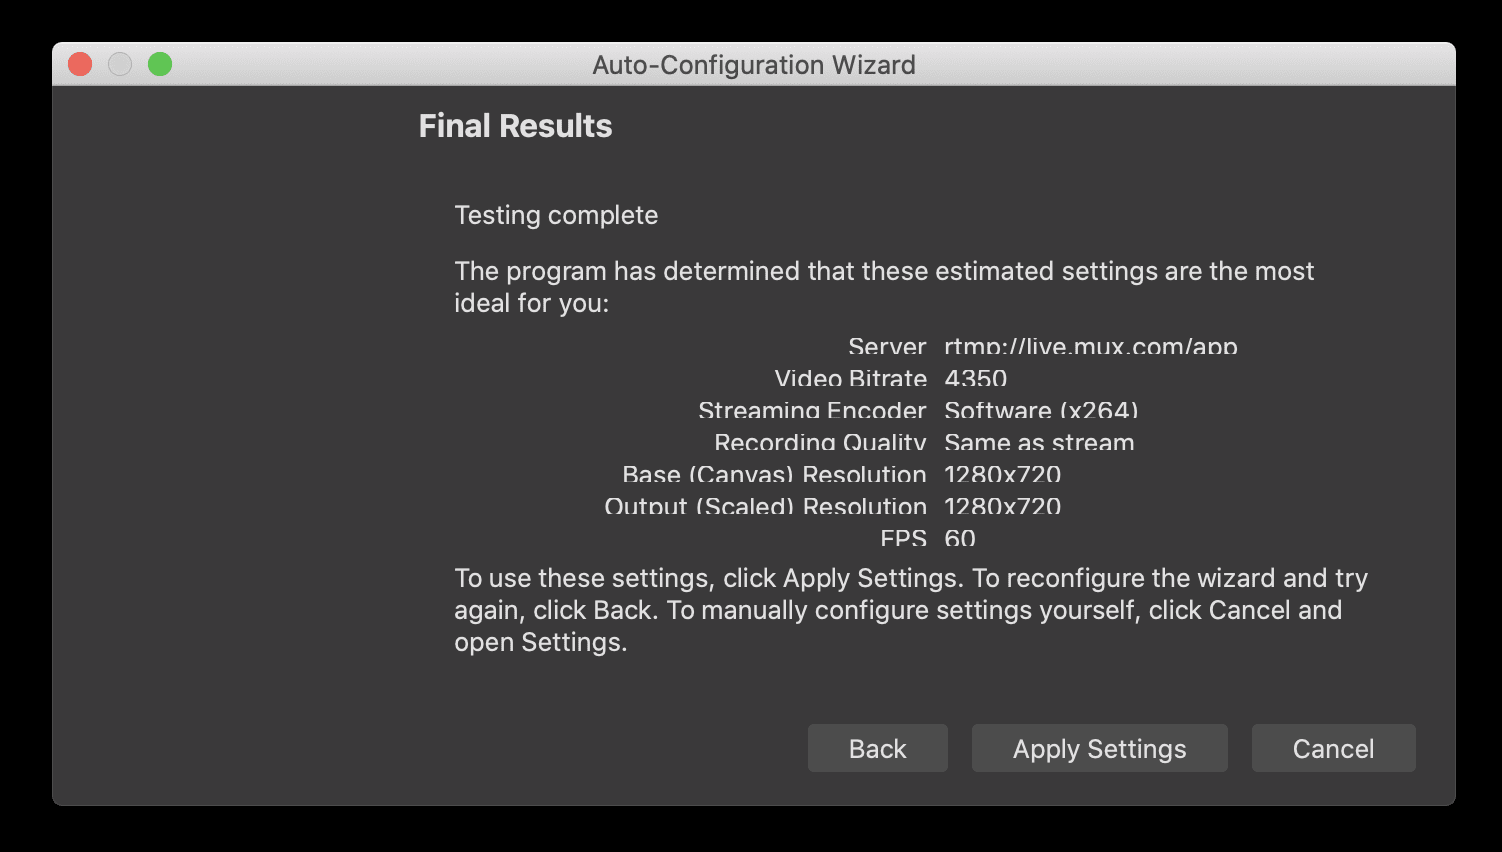
On the next screen, OBS will perform a bandwidth test to determine some final settings based on your internet quality. Once the test is done, click "Apply Settings" to finish the Auto Configuration wizard.
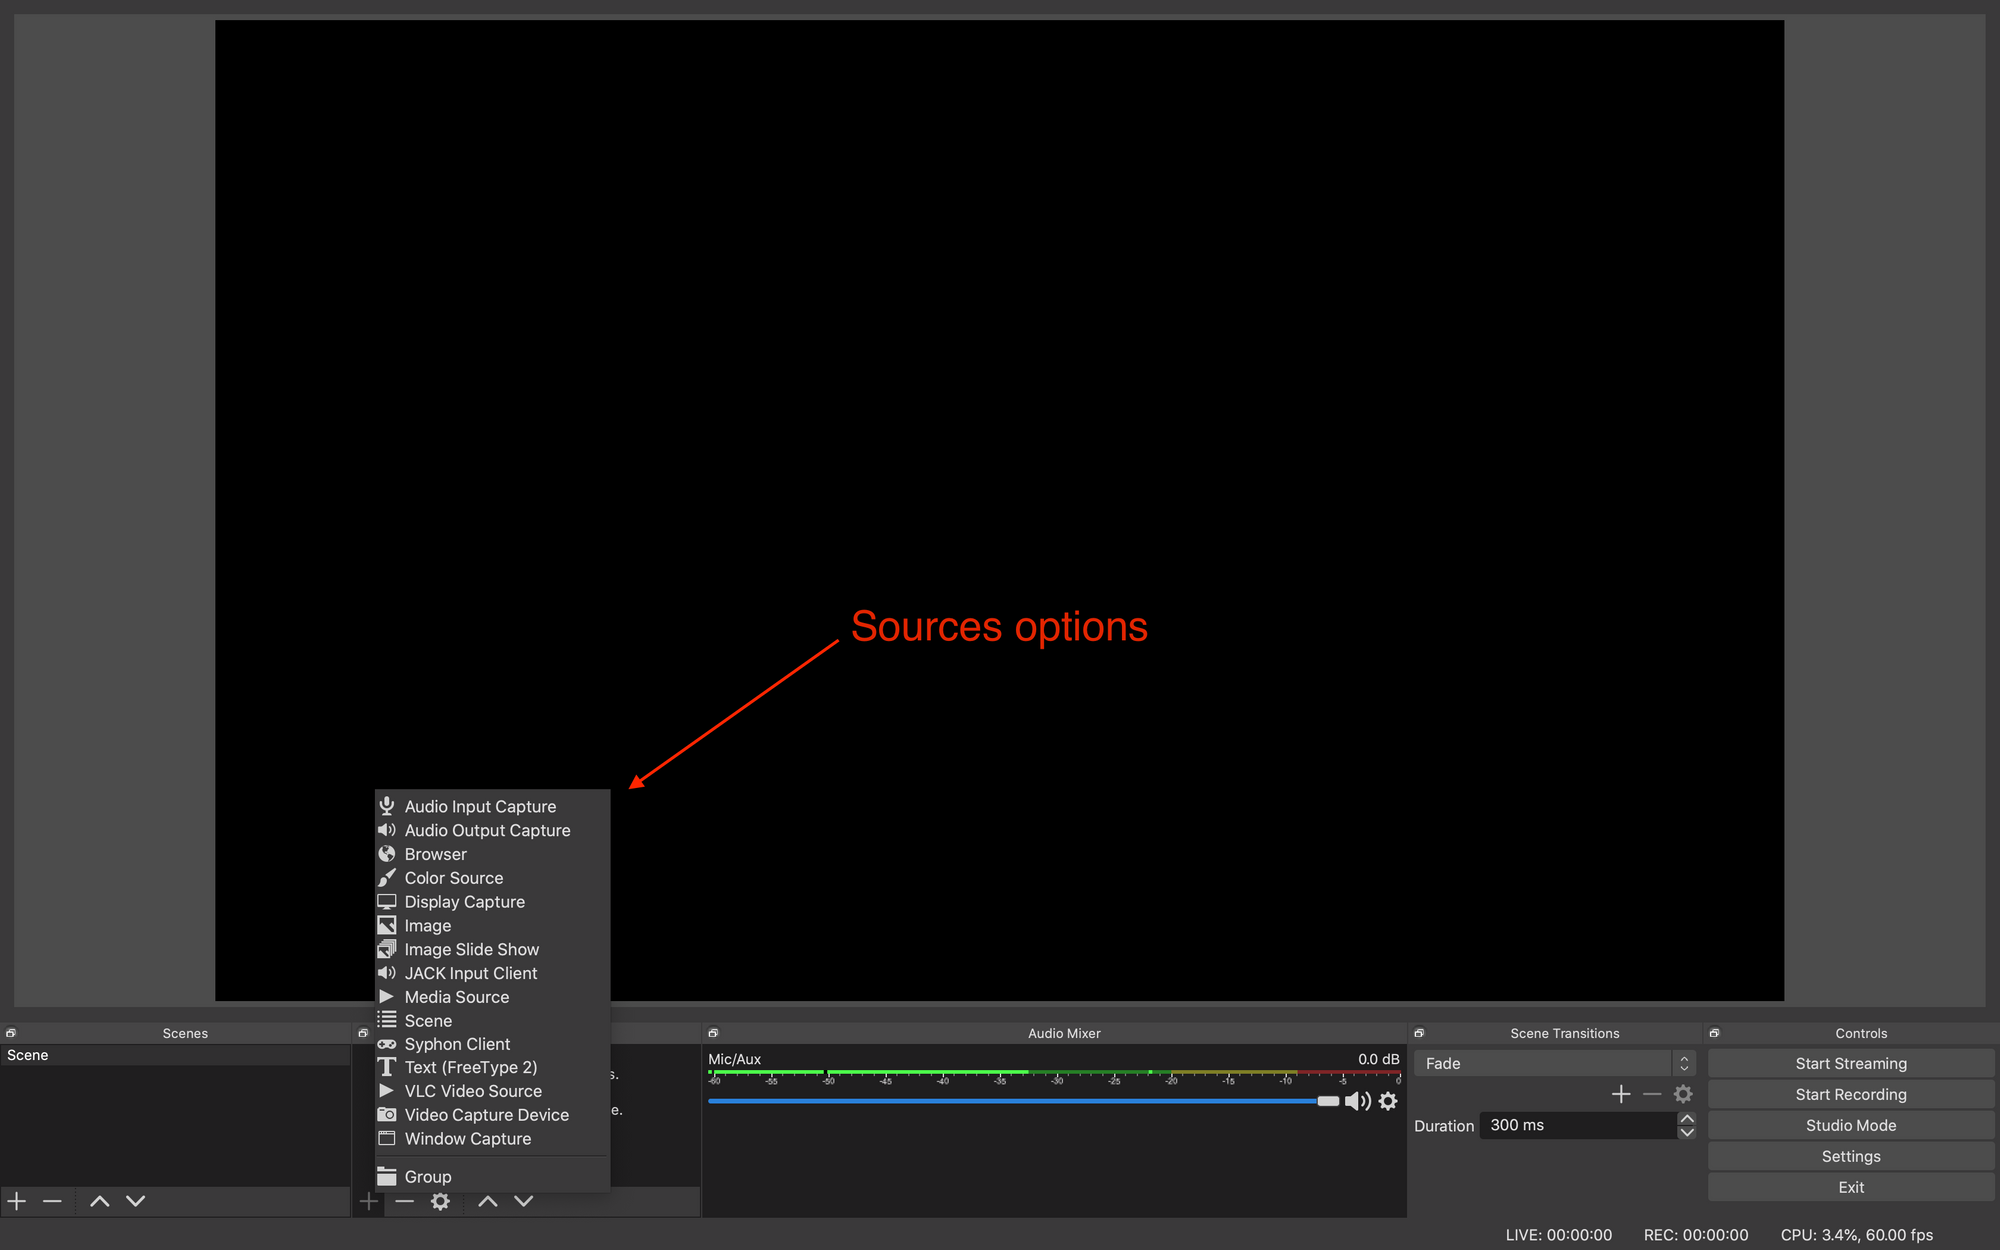
Now the OBS configuration is done. The only thing you need to do before you start the live class is to add "sources". Sources can be an image, your camera feed, your entire screen etc. This is what is visible to students. Click the '+' button in the sources section to add any of these.
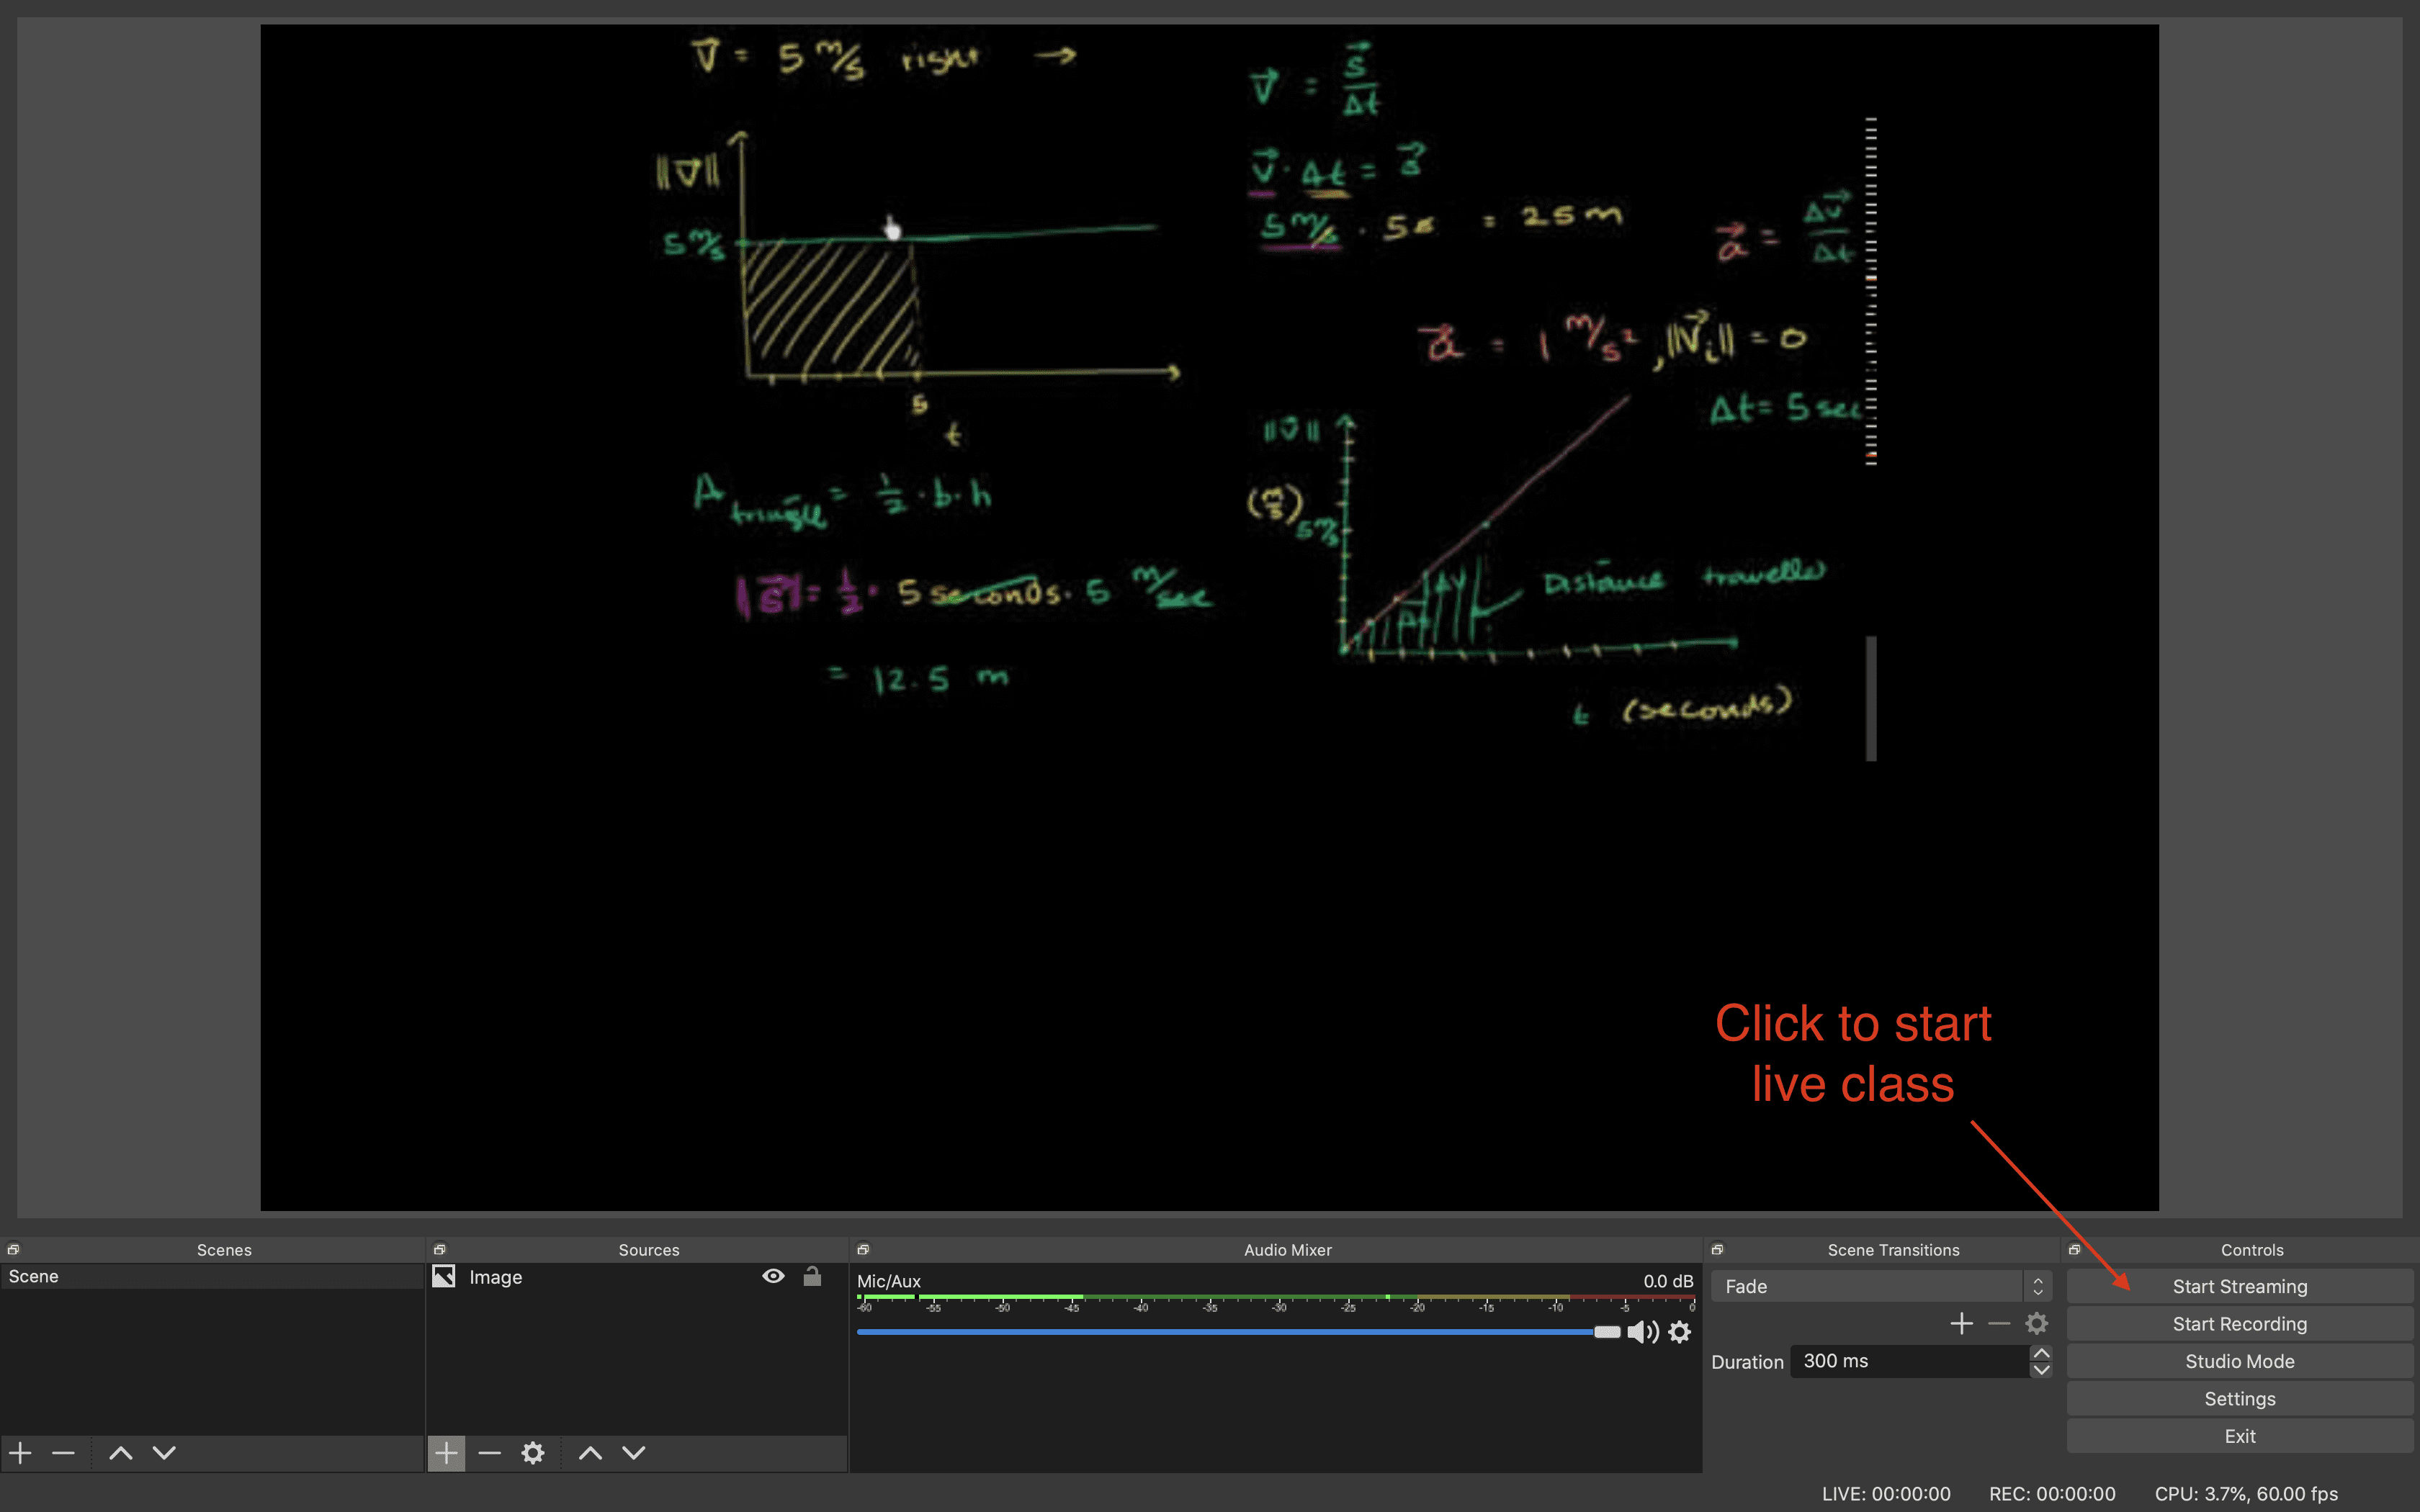
That's it! Now click the "Start streaming" button to start streaming.
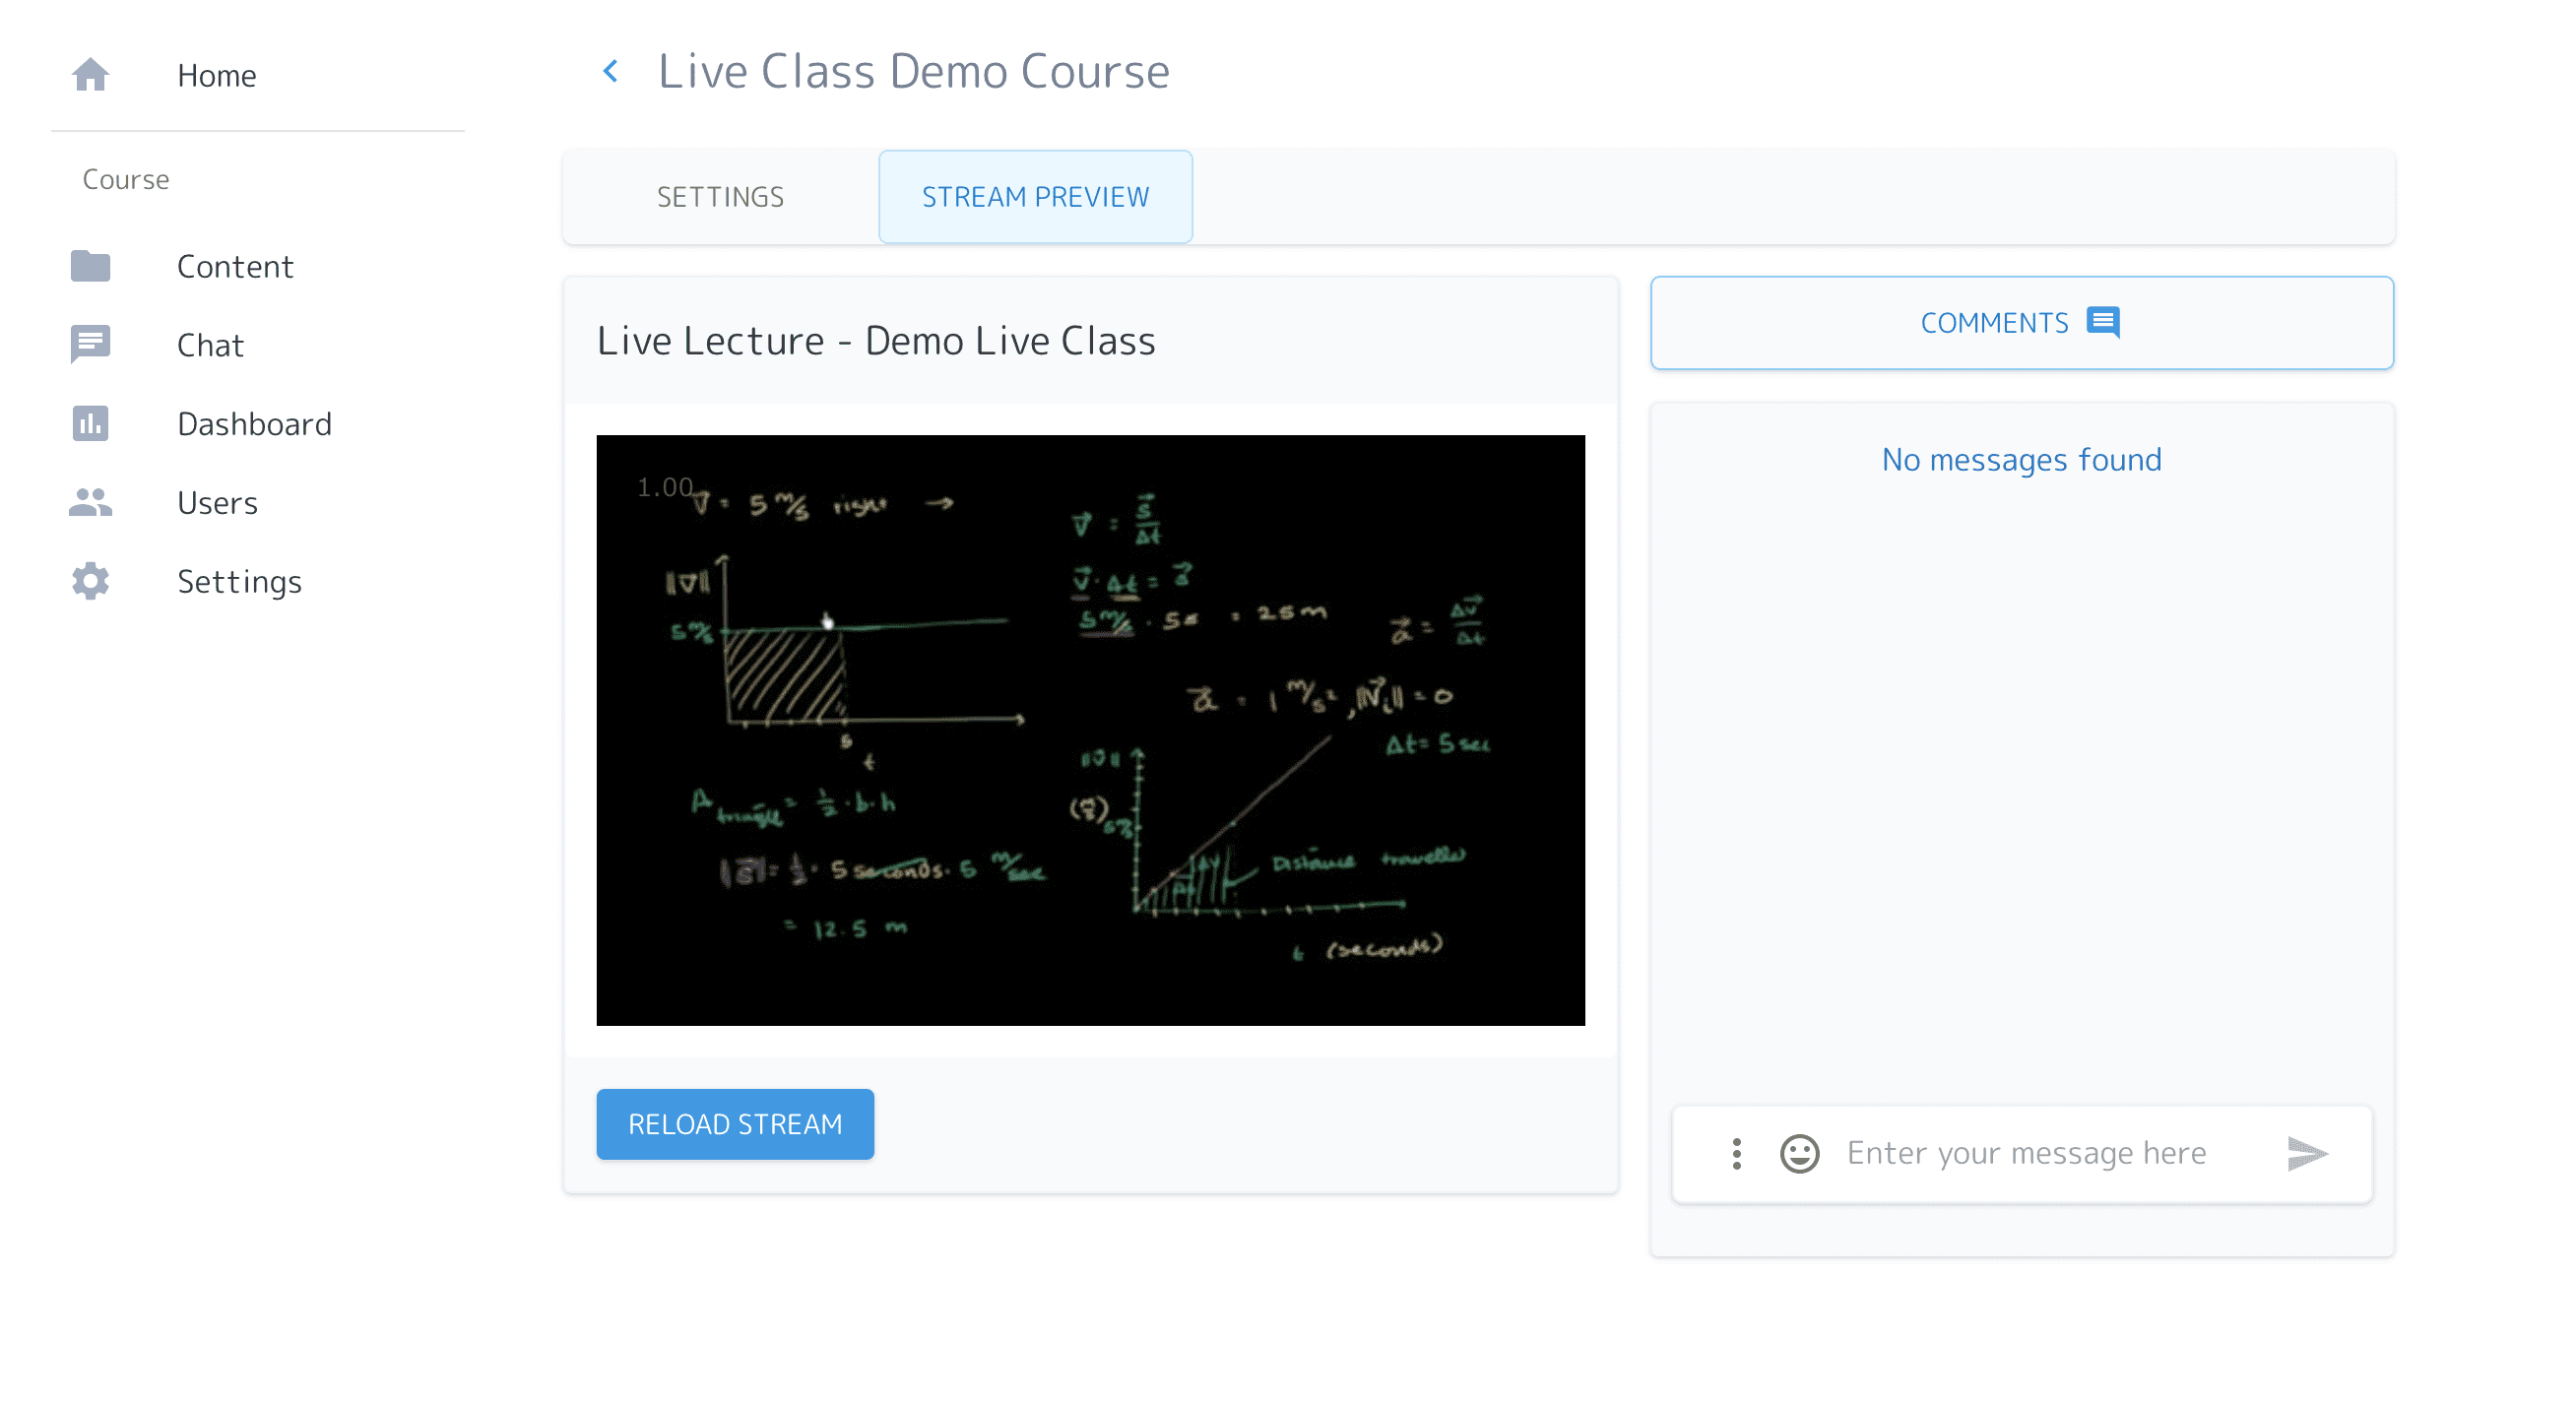
You should be able to see your stream under the "Stream Preview" section on the website (might take a couple of seconds to show up).
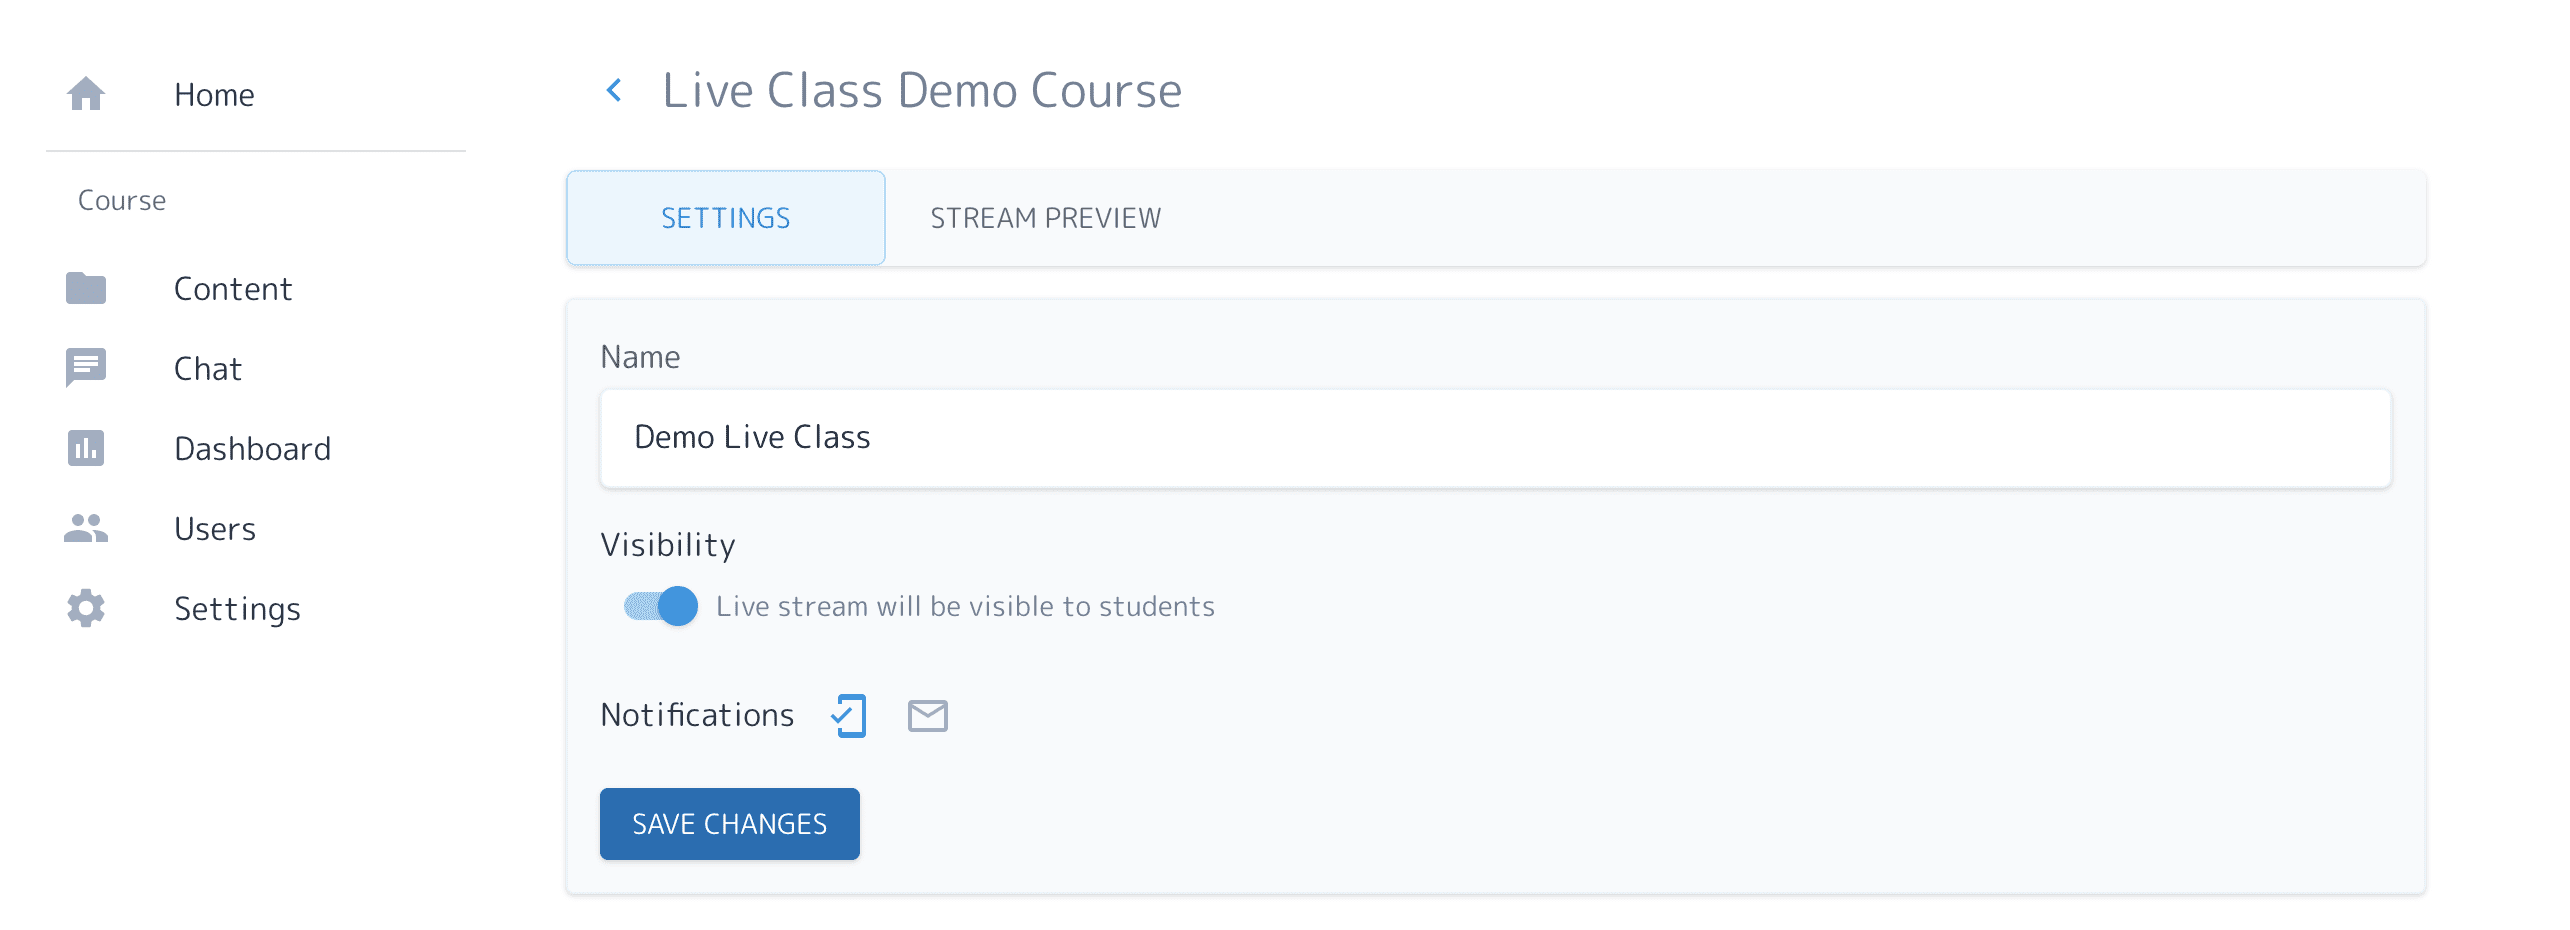
Once you are happy with the stream quality and you are ready to start the live class, go to the settings tab, toggle the switch "Visibility" and press save. This will make the live stream visible to all students.
That's all. Hope you were able to get the live class working. Happy teaching 😃
Using Ylurn, teachers and educational institutes can create and sell online courses/programs under their own brand (website/app). Try the product for free.