

In this guide, we'll demonstrate how teachers can show a Landing page containing information about their institute before showing the Courses page. To follow along, make sure you have signed up for an institute account.
In simple words, a landing page is the first page users “land on” when they visit your website.
By default, when users visit your institute's website (your-domain.com), they are redirected to the Courses page (your-domain.com/courses). By enabling this feature, you can instead choose to show a Landing page with your institute's information first.
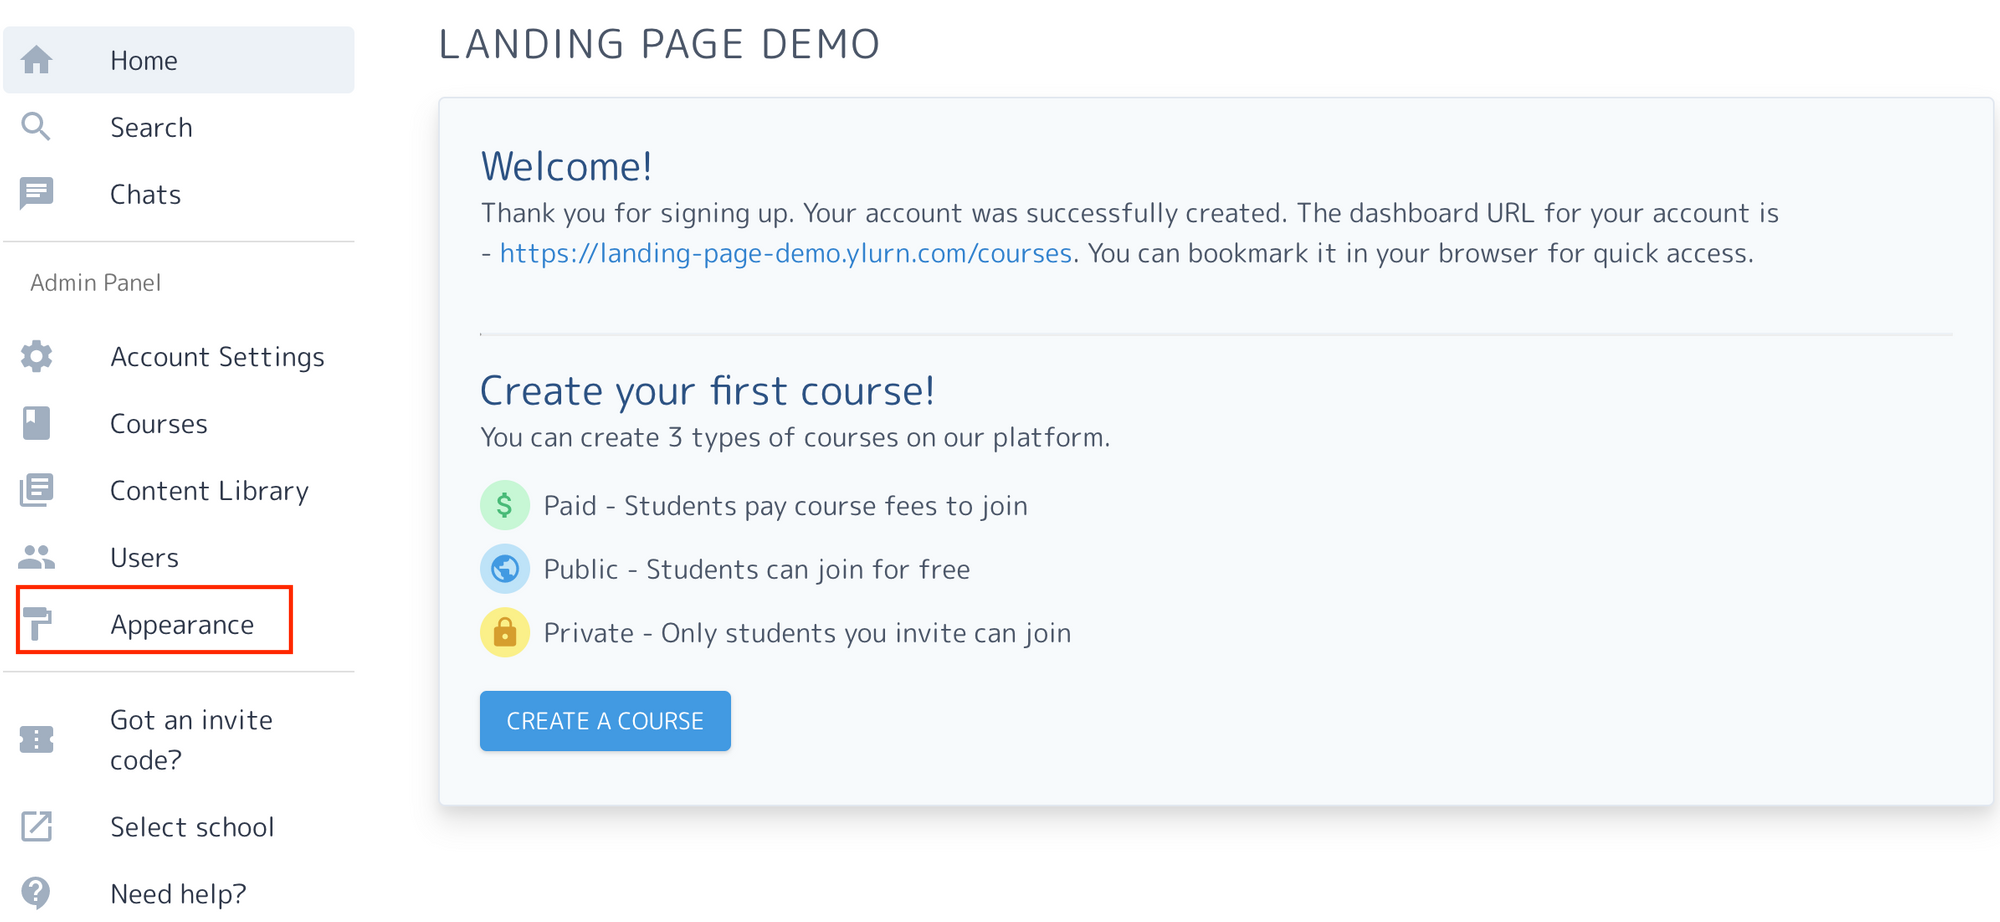
Step 1 - Go to Appearance Panel
Click Appearance from the Admin Panel.
Step 2 - Open Landing page editor
Click on the manage option to open the landing page editor.

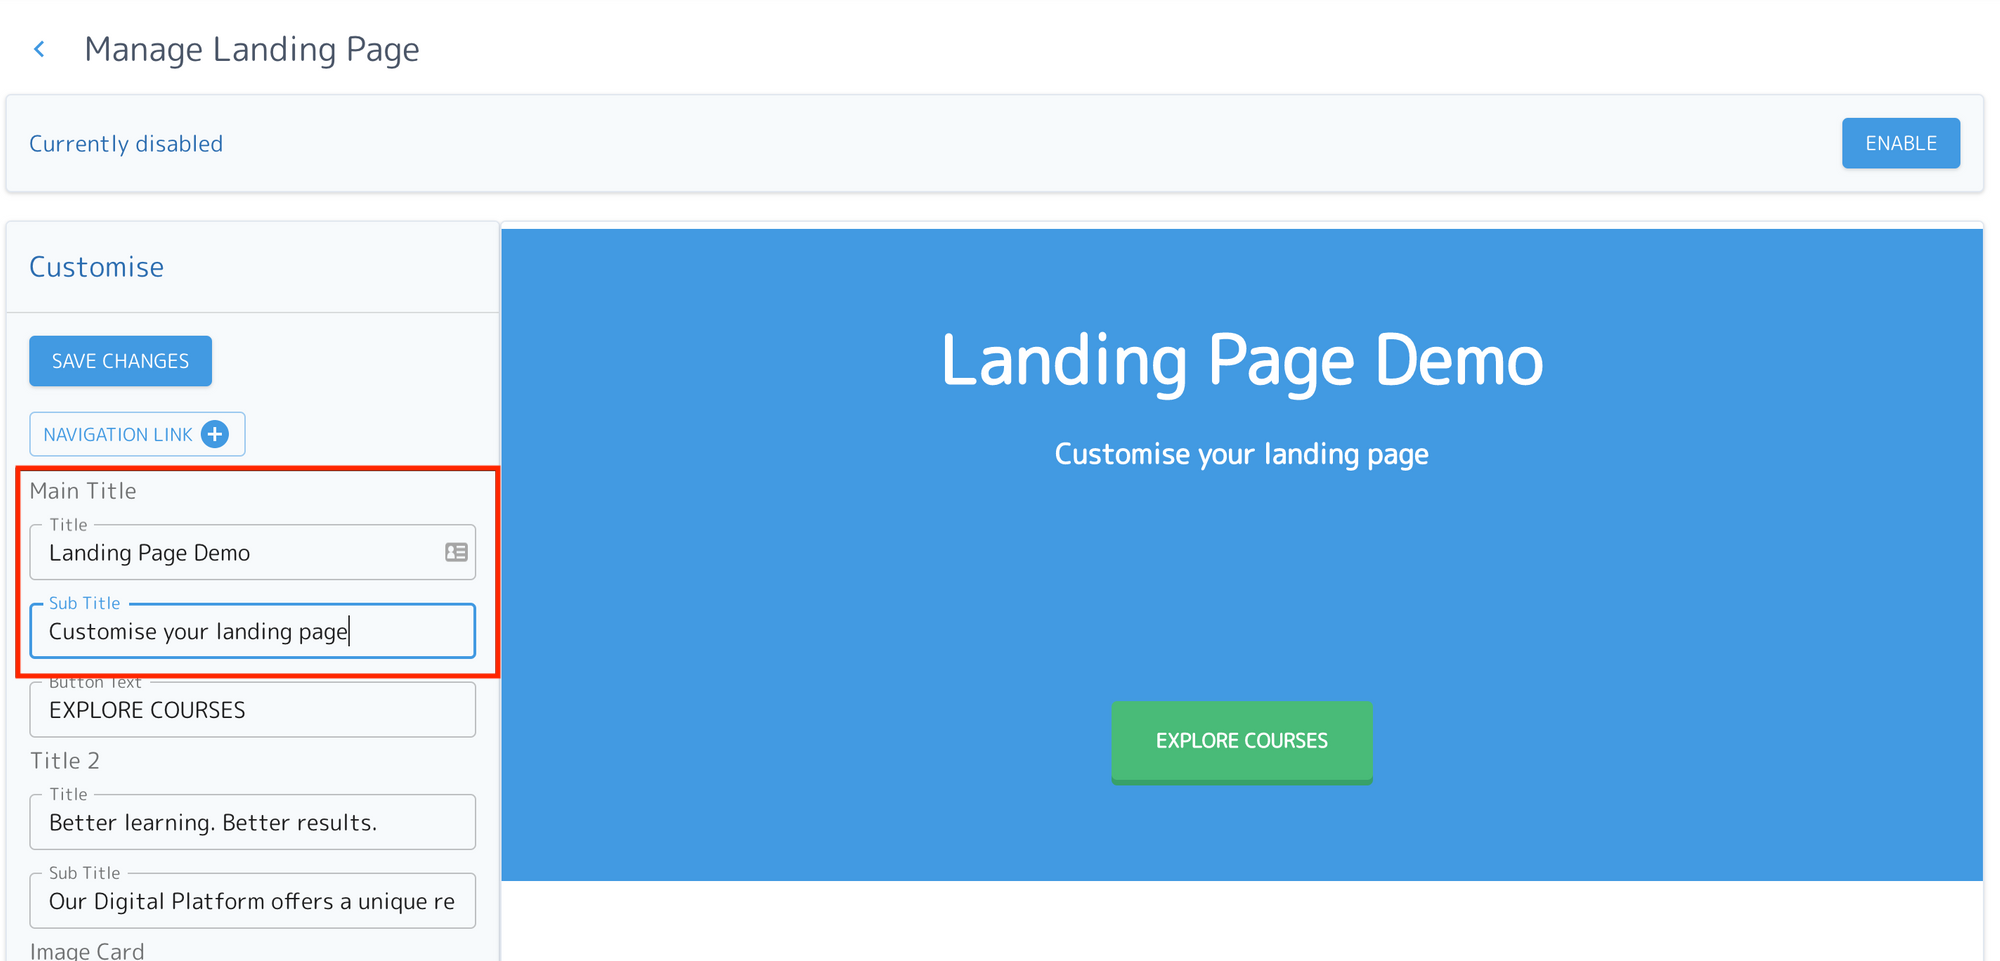
Step 3 - Customise text
Now, let us customise the landing page. On the left-hand side, you can make customisations and you can see the changes reflected on the right-hand side (Preview). For instance, I replaced the default title with 'Landing Page Demo' and the default subtitle with 'Customise your landing page'.
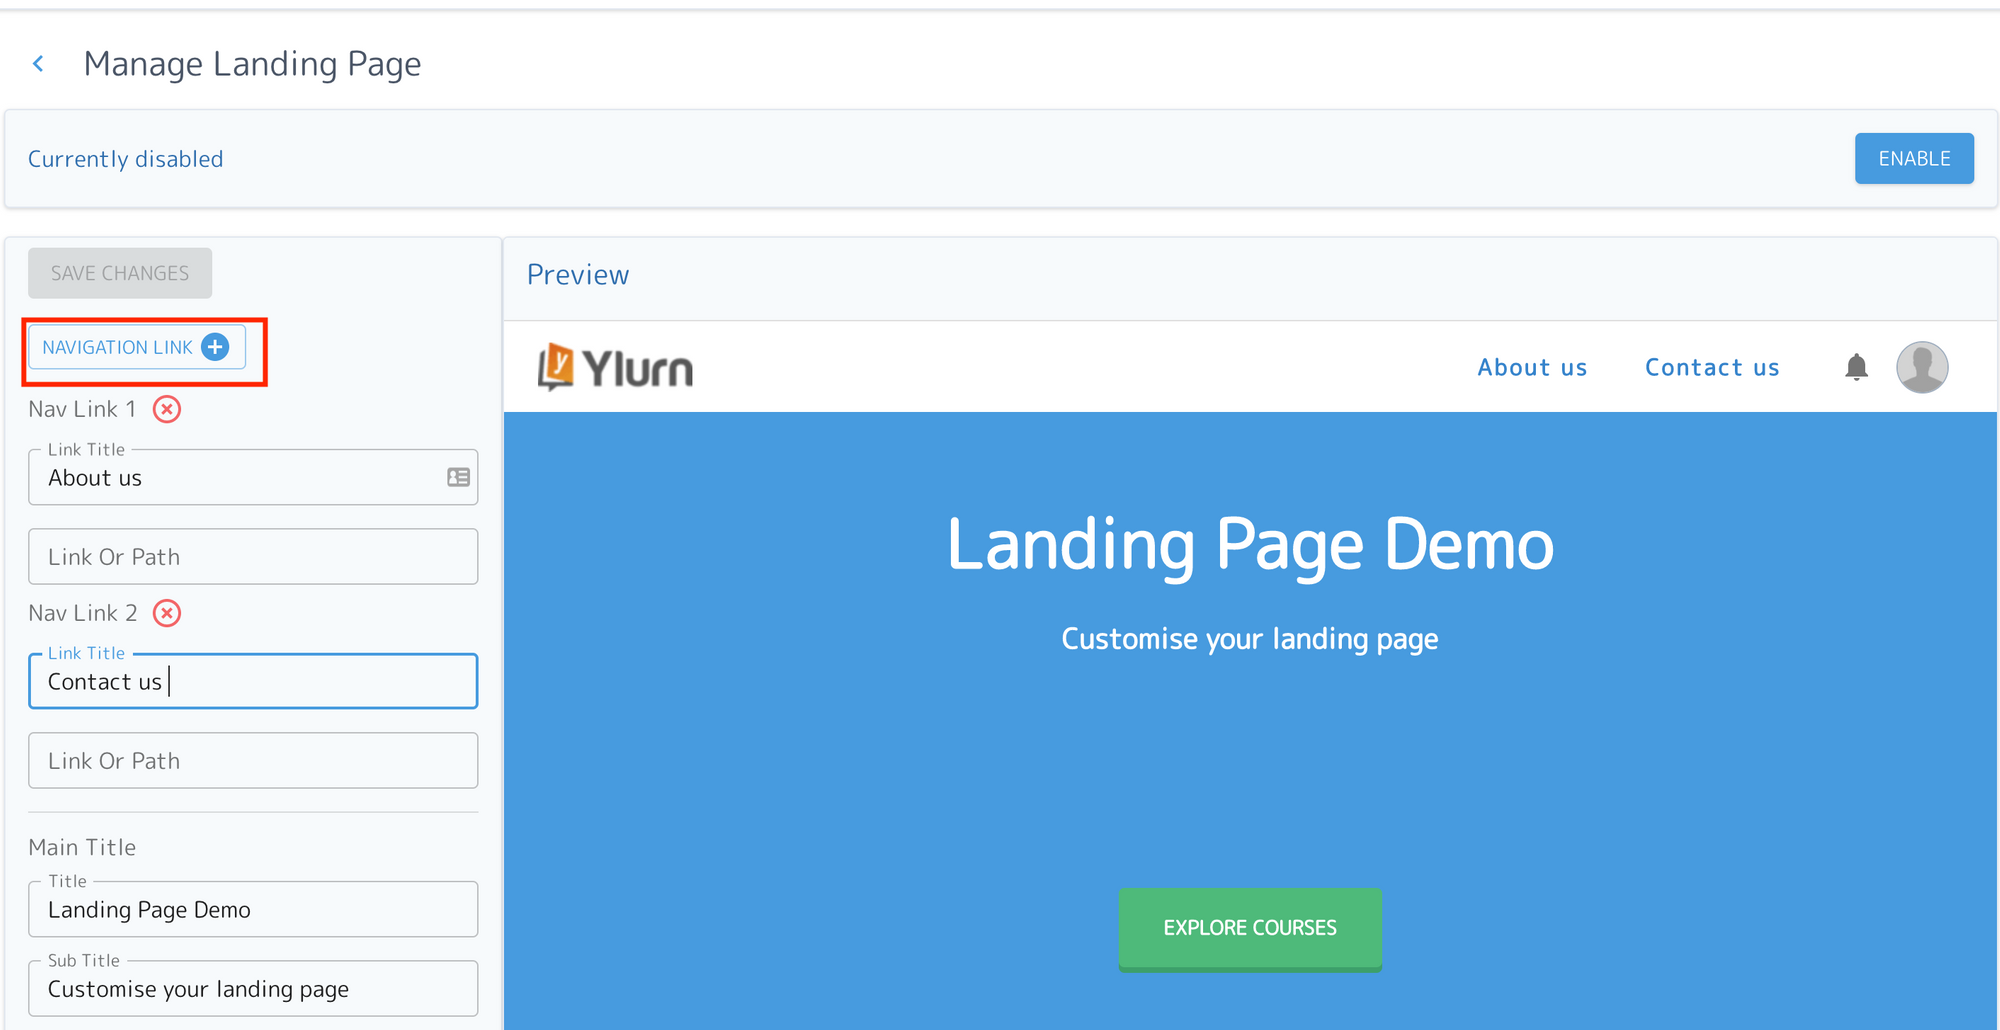
Step 4 - Add Navigation Links
This is an optional step. You can add navigation links by clicking on the Navigation Link + button. For instance, I have added the 'About us' and the 'Contact Us' navigation links.
Step 5 - Save your changes
After you have made all the changes click on the Save Changes button on the left-hand corner. This just saves your work but doesn't enable the Landing page.
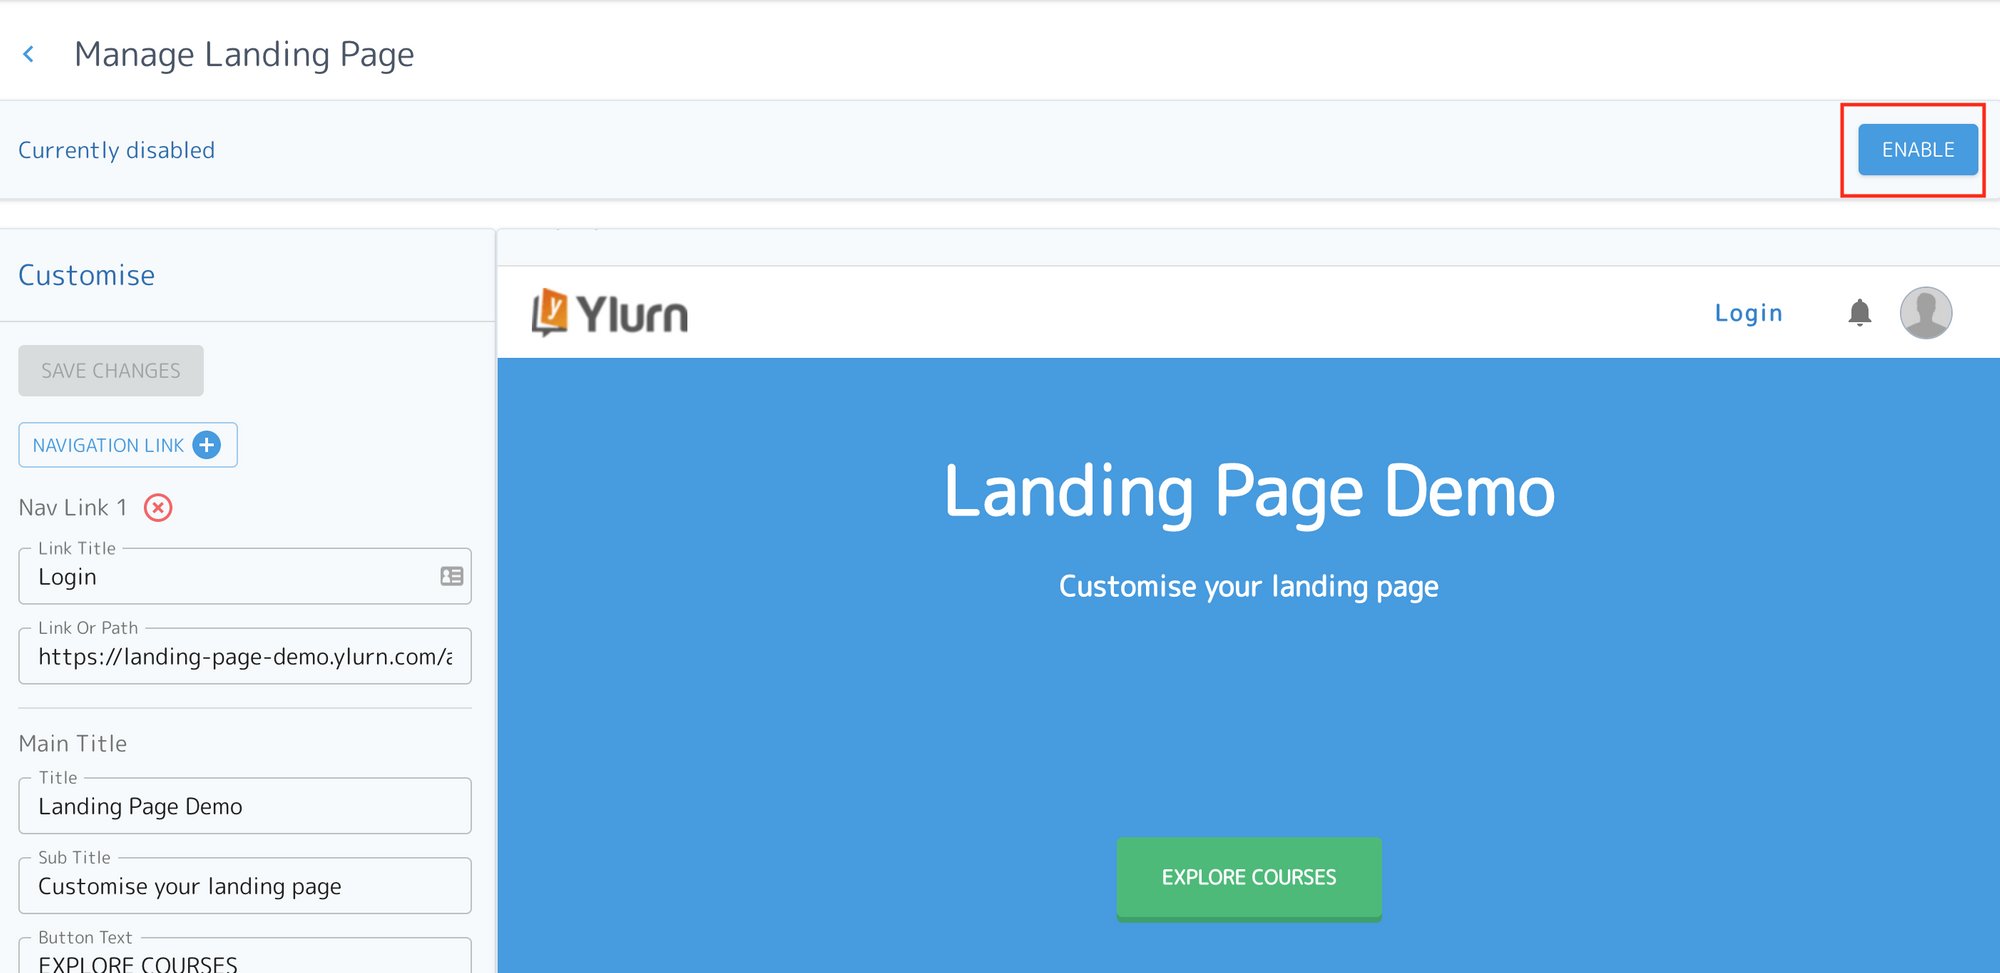
Step 6 - Enable Landing Page
Click on the Enable option in the top right-hand corner once you have made all the changes. This will enable the Landing Page and make it visible to the visitors.
That's it! You have created your very own customised landing page. Happy teaching!
Using Ylurn, teachers and educational institutes can create and sell online courses/programs under their own brand (website/app). Try the product for free.